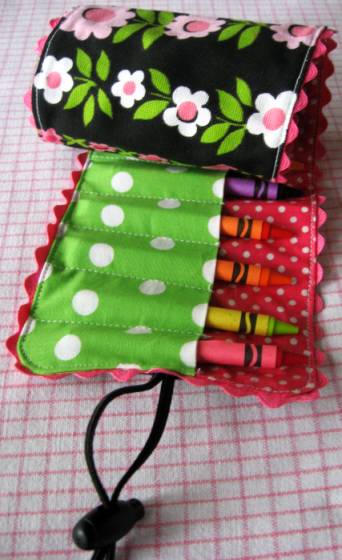
It's Tuesday so that means that it is tutorial time here at OILCLOTH ADDICT! Todays guest tutorial comes from Skip to my Lou! My friend and assistant Suzanne (of Silver Tree Art fame!) introduced me to this next blogger! This blog is choke full of free patterns, downloads and loads of inspiration! I could get lost there for days! Cindy is letting us share her Crayon Roll Holder, and we can't thank her enough!
Suzanne brought this idea to me because she believes this would be a great project to do with Oilcloth, I could not agree more! Oilcloth is great for all kinds of kids products. It whips clean with a damp sponge and comes in tons of great colors and patterns. I for one am seeing some lovely hand made gifts for my nieces and nephews! I know the parents will love them too!
 There is two ways you can change the tutorial below you could simply replace the larger inner piece that Cindy has used the iron on vynal or you could use oilcloth for the entire projects.
Here is our modified supply list for the Crayon Roll: One to three OCA Fat Quarters
1 - 5 X 16 1/2 inch piece of fabric for the outside (oilcloth optional)
1 - 5 X 16 1/2 inch piece of fabric the the inside (OILCLOTH)
1 - 6 X 16 1/2 inch piece of fabric folded lenghtwise and pressed for the pocket(oilcloth optional)
ric rac (never optional in my world!)
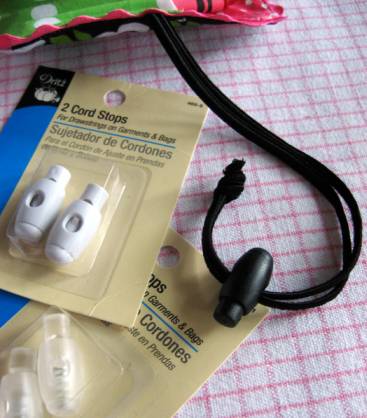
cord and cord stop
Now on with the tutorial...NOTES FOR OILCLOTH ARE IN RED! This Crayon Roll Holder is a great and useful gift for children!
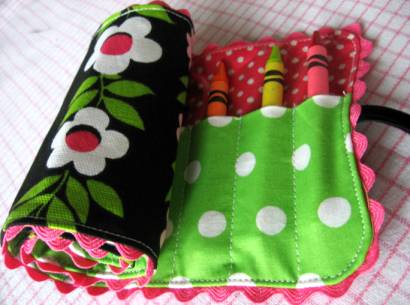
I noticed on our crayon roll that the inner fabric lining gets marked up quite a bit from the crayons going in and out. So this time instead of using interfacing on the lining piece I covered it with iron on vinyl. This is such a cool product. I had to keep myself from covering all the pieces—and I am glad I didn’t. The turning at the end gets it a bit wrinkled. I fear if I had done the whole thing it might look like a mess. The only draw back is that it is slicker and the crayons have less friction. However the new closure allows you to tighten it up to keep the crayons inside.
You need:
1 - 5 X 16 1/2 inch piece of fabric for the outside
1 - 5 X 16 1/2 inch piece of fabric the the inside
1 - 6 X 16 1/2 inch piece of fabric folded lenghtwise and pressed for the pocket
ric rac (if desired)
1 - 5 X 16 1/2 piece of iron on vinyl
1 Cord Stop
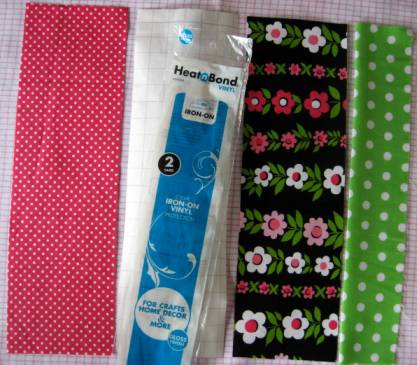
Iron on the vinyl to the right side of your lining piece following package directions.
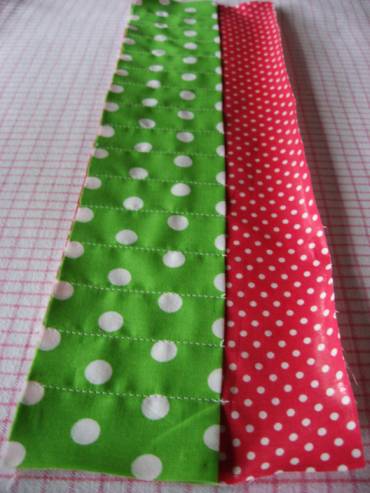
Place pocket piece ontop of right side of lining. Starting 1 1/4 inches over from the edge, stitch from top of pocket (back stitch at top) to bottom. Then stitch every 1 inch. You should have 1 1/4 inches left on the other end. USE LONG STITCH LENGTH when stitching directly on top of oilcloth.
If using ric rac pin it around the edges, overlap at bottom. I use fray check to keep ends from unraveling.
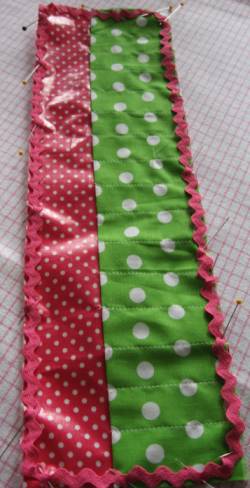
Place outside piece ontop of pocket and lining, right sides together. Place a 20″ piece of cord (folded in half) in the middle on the right side. Ends of cord go towards the center.
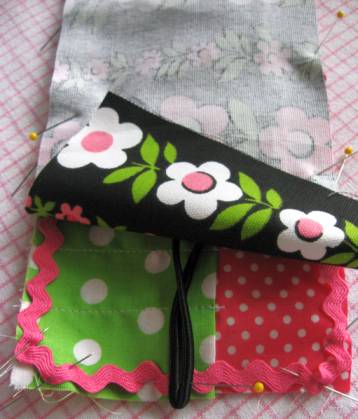
Sew all the way around 1/4 inch from the edge. Leave a 2-3 inch opening at the TOP. OILCLOTH CAN BE TOUGH TO TURN SO LEAVE 4-5 INCHES FOR THE OPENING.
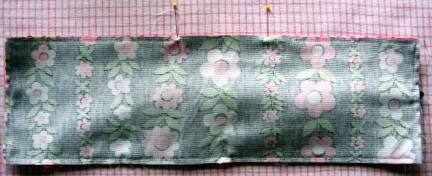
Clip corners and turn. Press (If you do use oilcloth DO NOT press OILCLOTH with bare hot iron), making sure to press opening to the inside. FINGER PRESS OILCLOTH EDGES SMOOTH. Pin opening shut and then top stitch all the way around very close to the edge (making sure you sew all layers of the opening shut.)
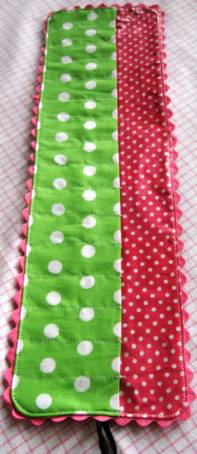
Squeeze the Cord Stop and thread both ends of the cording through the center hole (have patience, thread ends one at a time). Tie the ends of the cording together into a knot. I placed a drop of glue in the knot to keep it secure and then put fray check on the ends.
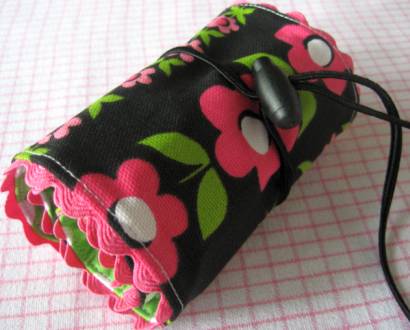
Finished! OCA recommends you place your finished product laying open on a flat surface and stack a few heavy books on top of it to get the seams nice and flat.
This tutorial was originally published at Skip to my Lou on September 9, 2008. Oilcloth Addict has posted it with their express permission. As always OCA is dedicated to offering you great tips and projects. If you have an idea that would fit with in out blog please let us know. We would love to share your ideas too!
Go get crafty!


